
Spring, Summer, Autumn, or Winter—there’s a midwest option for all.

Thoughtfully curated outdoor container gardens and planters are a perfect way to honor and celebrate the changing seasons, bringing life and inviting charm to your home or business. Changing your outdoor planters throughout the year ensures blooming flowers and healthy plants suited to each season’s weather conditions, which can be extreme in the Upper Midwest!
Early Spring Minnesota Container Gardens
Early Spring Containers are ready to be installed in late winter when the weather has started to thaw. In Minnesota, this is usually in March or April.
At this time, remove the winter container’s display of greens and spruce tops, setting aside any decorative twigs, decor, or birch logs to reuse in future winter planters. Compost any natural elements that you cannot reuse (like spruce tops and seasonal greens, which might have browned by the end of the season).

Once you have removed the winter greens, replenish your planter with fresh potting soil. If you used potting soil last year, you don’t need to remove all of it. Simply leave half of last year’s soil and mix in new soil to around 1-2” under the planter lip. If your winter planter was planted with topsoil, however, remove all of the soil and replace with potting mix. Topsoil is heavier than potting mix and usually doesn’t have perlite and vermiculite in it. Those small white particles that look like styrofoam are essential for your spring, summer, and fall plants, so it’s worth it to upgrade and start fresh.
Late winter is still a bit too chilly for Midwestern spring- loving plants. In order to freshen up the planter and get your porch or entryway in a springy mood, top your soil with green moss and insert decorative twigs (like Pussy Willows) into the center of the planter. You can find decorative moss at a craft store, but we find that garden centers have greener and fresher looking moss. For best results, place landscape fabric pins (which you can also find at the garden center) to keep your moss in place in windy weather. Pro tip: you can often reuse willows and moss in next year’s early Spring container!
Early spring outdoor planters are a simple and effective way to celebrate the end of a long Minnesota Winter and get us excited about the sunny days that lie ahead.
Spring Minnesota Container Gardens
Spring Containers are filled with cold-tolerant plants and spring-blooming bulbs, chosen to survive those chillier Minnesota nights. Summer plants and tropicals cannot survive below 55 degrees, but spring plants can withstand temperatures as low as 38 degrees! (If the weather happens to drop below 38, bring your planters indoors or cover them with a sheet or cloth.) Spring containers are perfect to get you by until the temperature climbs high enough to plant summer greenery and flowers (think mid-May to early-June). Pro tip: cold-tolerant plants do not do well in the heat, which is why most gardeners switch their ourtood planters to Summer gardens come Memorial Day.
To create a festive spring outdoor container, remove the moss you applied a few weeks back. We like to leave the pussy willows in the center—adjusting their positions as needed. Fill the remaining space with cold-tolerant plants and budding or blooming bulbs:
Cold-tolerant plants:
Pansies – Can withstand temps as low as 32 degrees.
Violas – Can withstand temps as low as 32 degrees.
Creeping Jenny*
Calendula*
Snapdragon
Sweet Alyssum
Nemesia
Ivy*
Osteospurmum*
* These plants are also heat tolerant, so they can be left in your container through the summer!

Spring-blooming bulbs:
Tulips
Daffodils
Hyacinth
Muscari
Allium

(For best results, don’t use any old bulbs, like from the leftover ones stored in your garage. In the spring, you can find bulbs that have been planted in a container and already have established green stems and buds at your local garden center. We like to use bulbs that are not fully blooming yet—so we can watch them grow, open, and bloom with the season. (The cool thing about using bulbs in your containers is that you can plant them in your garden after the season is over, and enjoy fresh blooms year after year!)
When planting bulbs in your container, plant them 2-3” below the soil line and fill the soil around them so they stand up straight. Then place your other cold-tolerant plants above and around the bulbs. After you’ve added your plants, you can fill in any empty space with the moss you used earlier in the season. Don’t forget to water your new plants right after planting, and again every couple of days after that.
Summer Minnesota Container Gardens
Summer planters are filled with colorful, heat-tolerant plants and are typically installed after Mother’s Day, from mid-May to mid-June (weather depending). With proper care and watering, these planters will last through September or October!

It is extremely important to figure out what the sun conditions are like where your planter(s) live, as most plants have a preference and will not thrive unless they are placed in the right environment. If your planters are located in the front of your house, figure out which direction your home faces. (Your phone probably has a compass app to use if you’re not sure.) Use this key to determine which plants would do best due to your specific sun condition.
North + East facing with no trees – Choose part-sun loving plants.
North + East facing with trees – Choose shade loving plants.
South + West facing with trees – You will have to use your best judgment to see how much shade your trees provide. If it’s not much shade, use part-sun to sun-loving plants.
South + West facing without trees – Choose full sun plants.

Once you have determined your sun conditions, it’s time to shop for plants (this is the fun part). Each plant’s tag will list which sun conditions it prefers—and most garden centers separate their plants based on those sun conditions to make shopping easier. We suggest getting something tall for the center, choose filler plants around that, and select a few trailing plants to grow along the outside rim of the pot.
After planting, it’s very important to water new plants almost daily during the summer heat. If you plan to be out of town a lot, perhaps have an irrigation company set up watering for your container, or plant drought-tolerant plants like cacti, succulents, and moss rose/portulaca plant. (Keep in mind, most drought tolerant plants are only suited to full-sun conditions.)
Fall Minnesota Container Gardens
Fall containers are planted when the temps start to drop at the end of the summer, usually in September or October. These planters typically include mums, asters, grasses, kale, ornamental cabbage, violas, pansies, and the occasional mini pumpkin. These plants can withstand the cooler nights and add a festive sweater-weather vibe to your entryway or patio. When purchasing mums and asters, choose plants that have tighter buds that haven’t bloomed yet. By doing so, your fall blooms are more likely to last until you’re ready for winter planting.


To make the switch to autumn, simply remove and compost summer plants and replace with fall plants. Water after planting, and then every couple of days.
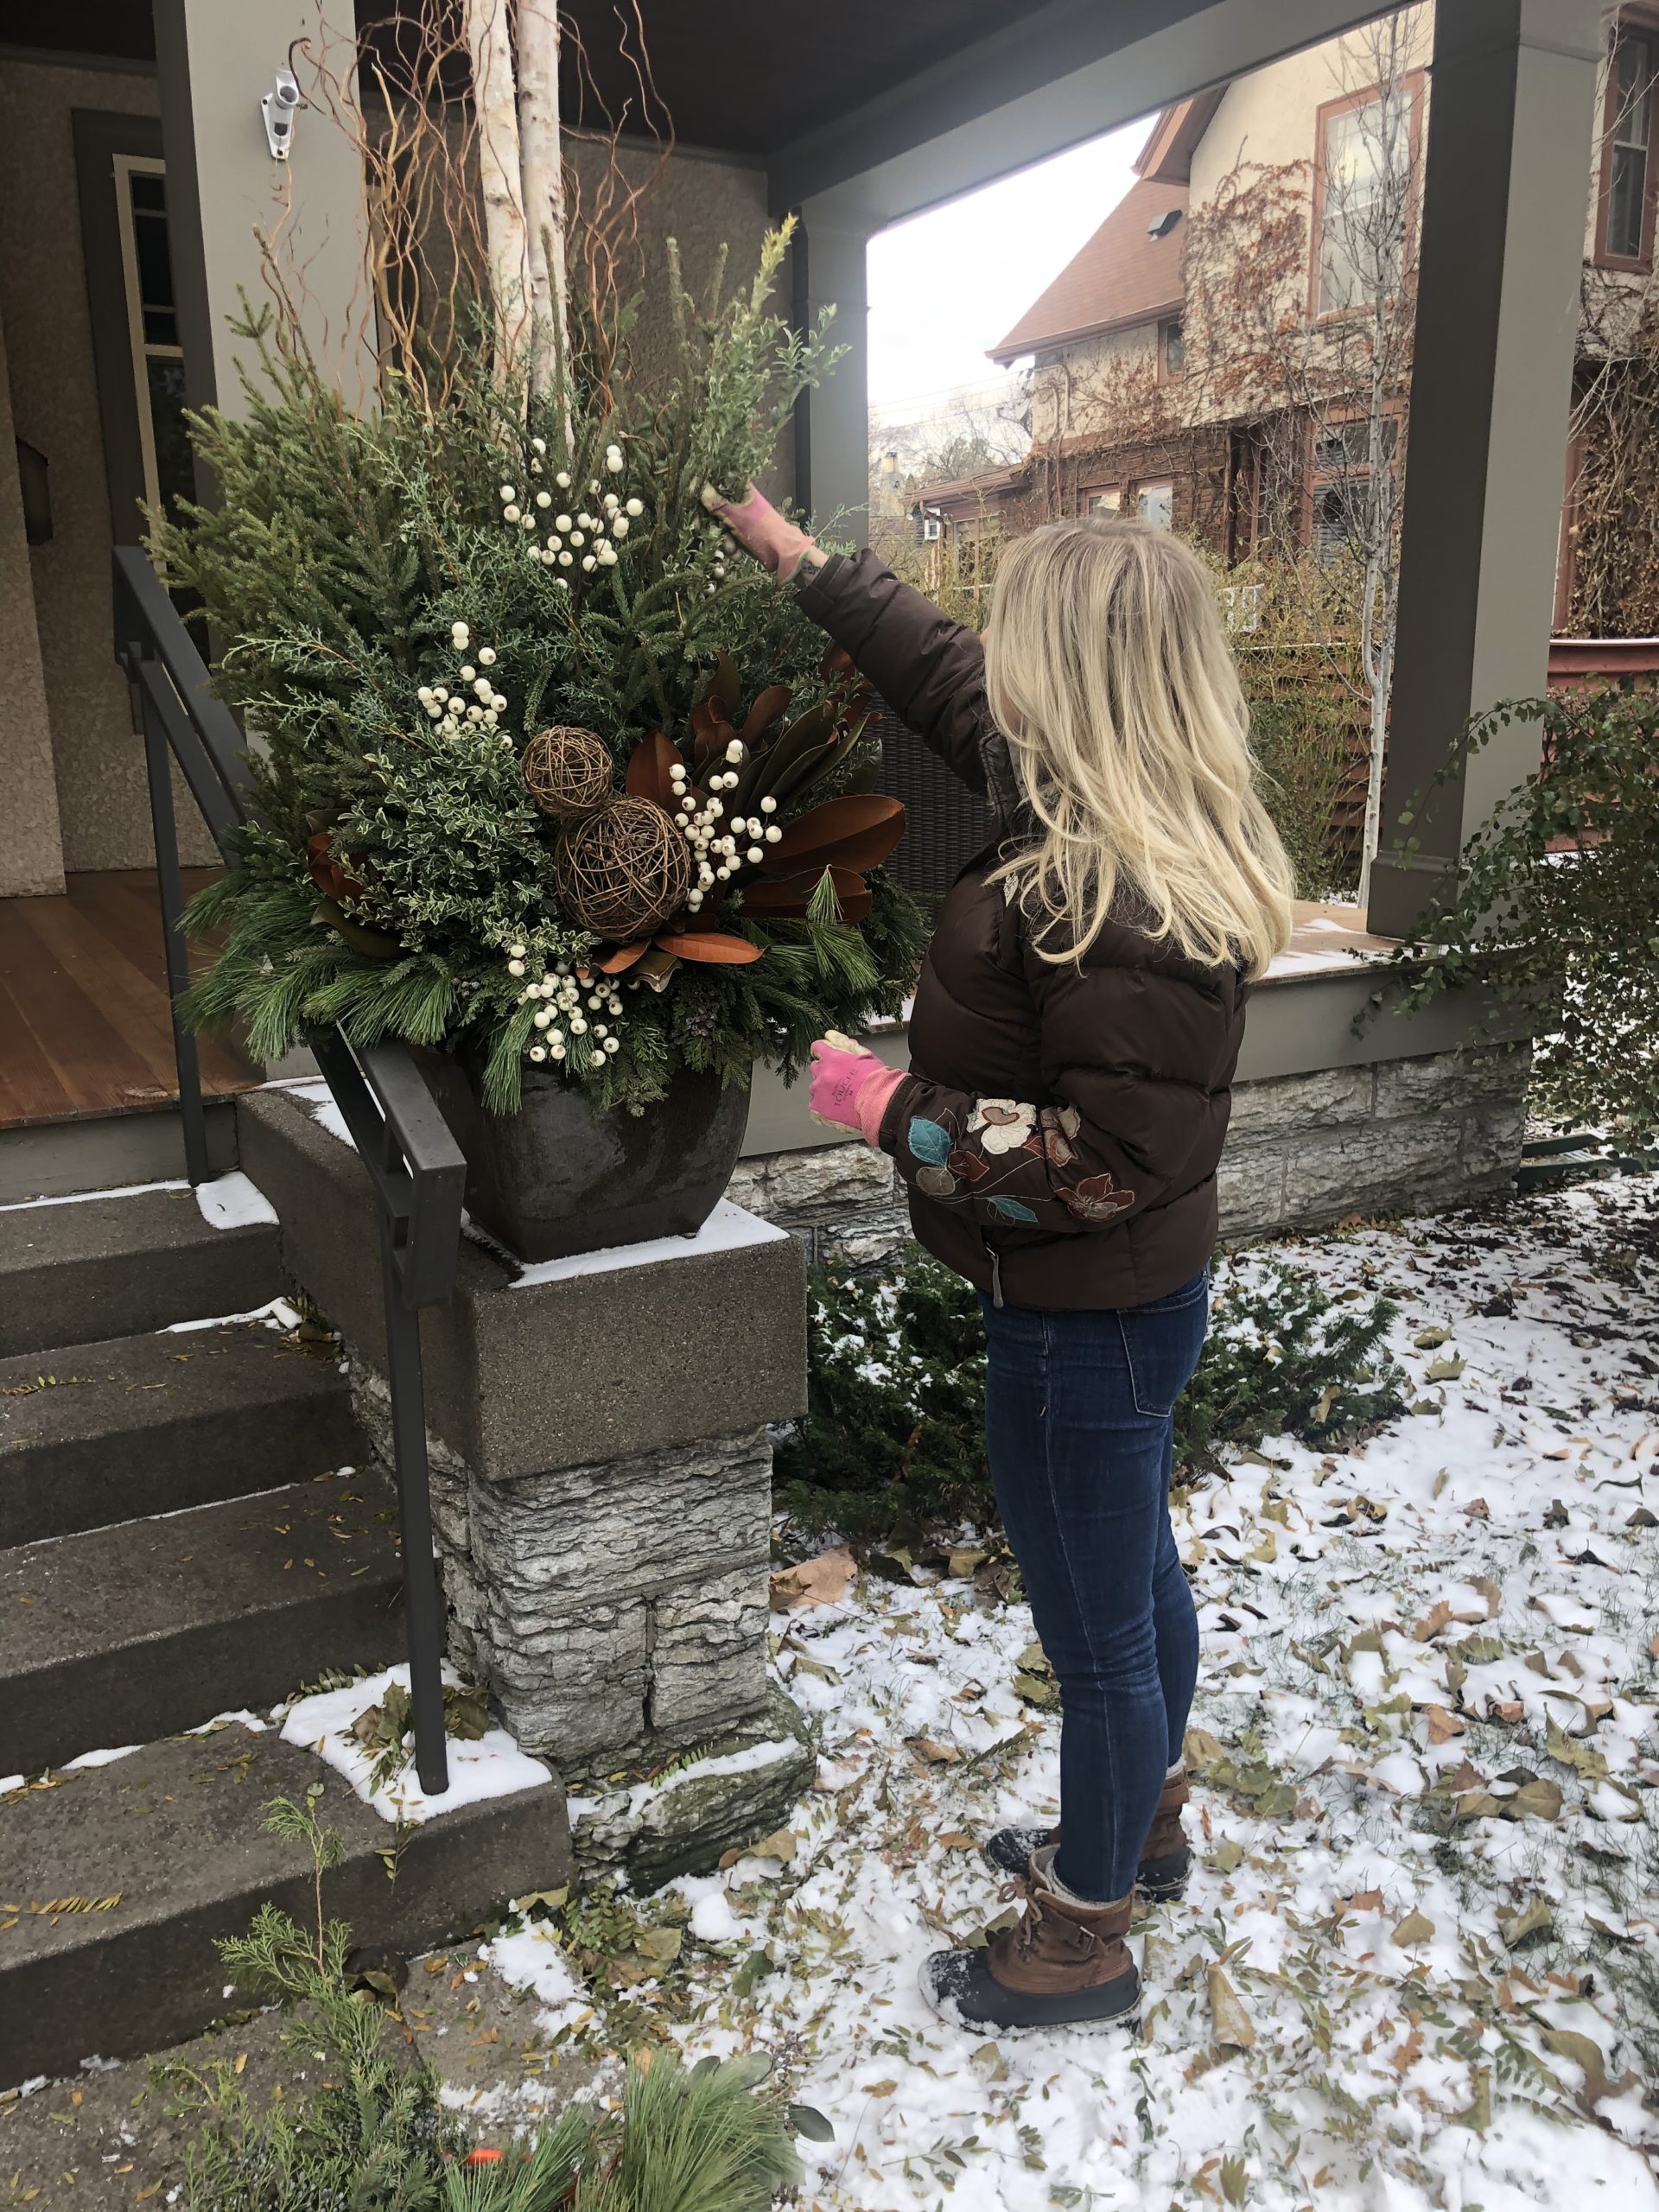
Winter Minnesota Container Gardens
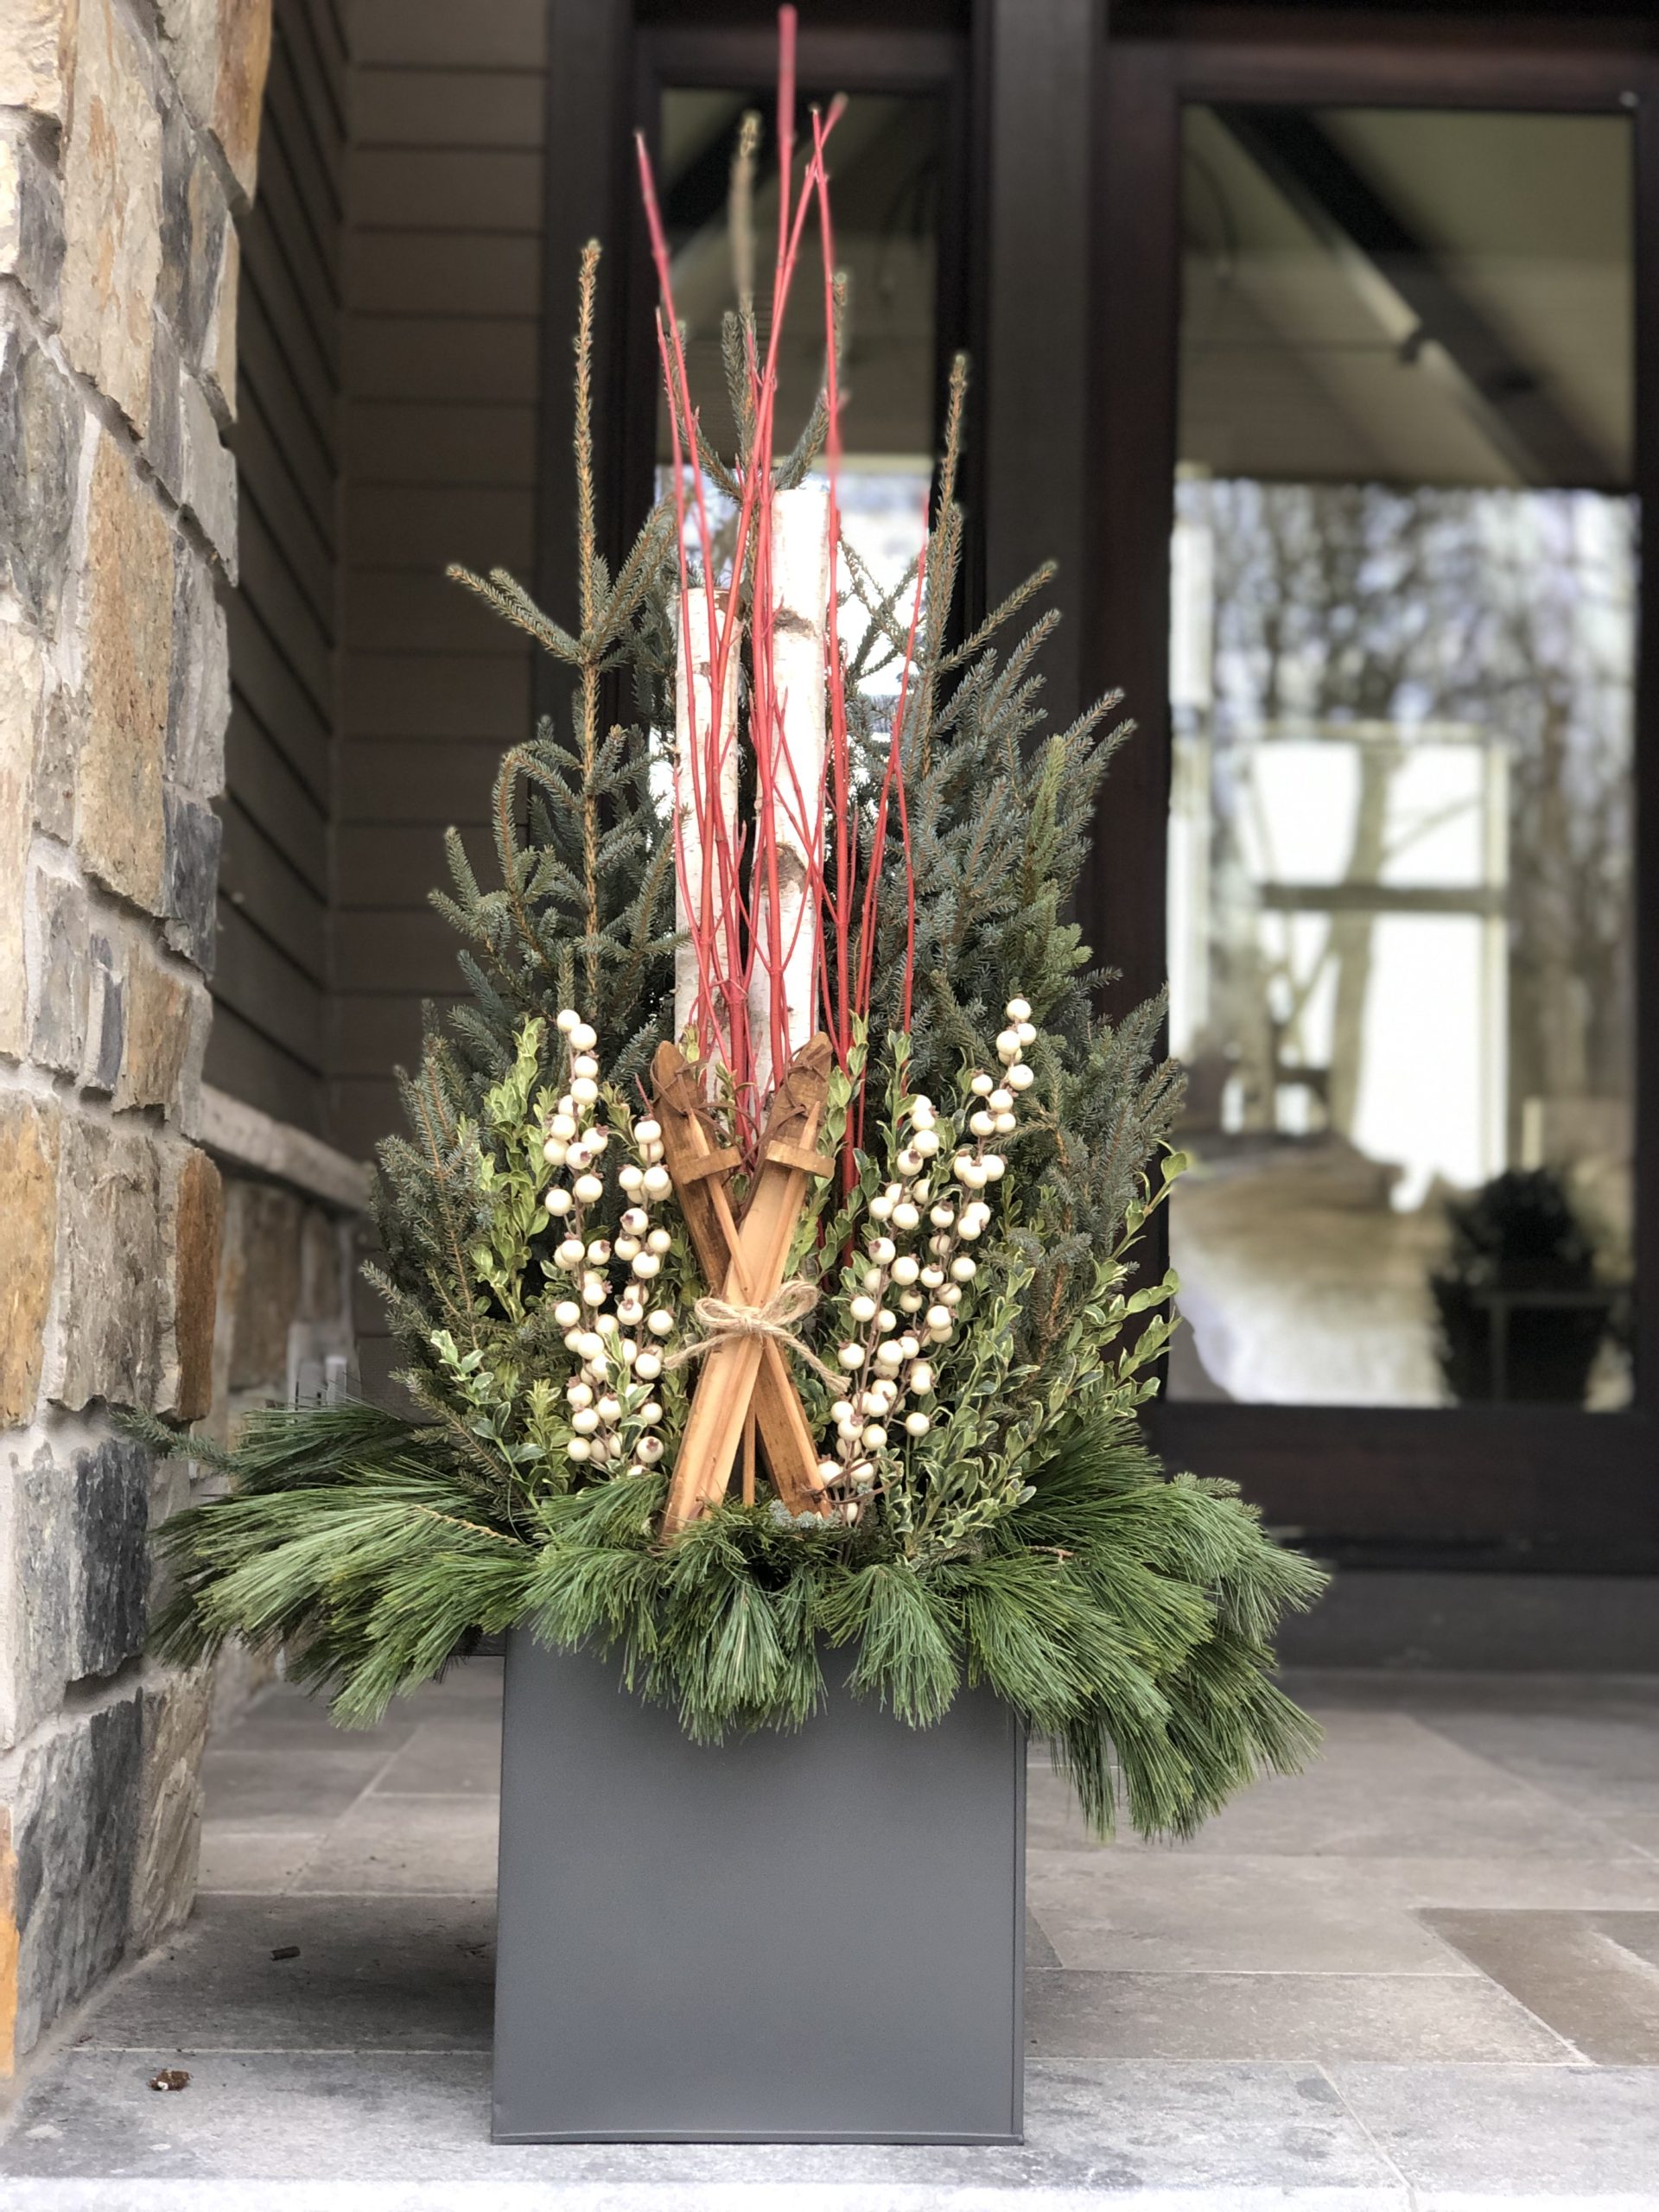
Winter containers are planted in November through early December, and are filled with spruce tops, seasonal greens, and winter berries. We love winter planters because after one initial watering, the plantings are zero maintenance and will stay looking fresh until Spring planters return in the new year.
Pro tip: Ceramic and terracotta planters can potentially crack if plants are grown directly inside them through a midwest winter. (As water gets into the pots, it freezes then expands, which can crack your pot.) If you are set on using ceramic for the winter, be sure to place a plastic pot inside, and fill that pot with your soil and plants to protect your container for future seasons.

Winter container gardens usually include:
Spruce tops (Also called Spruce tips)
Winter greens such as White pine, Red Cedar, Coned Cedar
Oregonia (we love the white variegated variety)
Natural red winter berries or faux berries
Decorative twigs such as curly Willow, red-twigged Dogwood, or yellow Dogwood
Waterproof decor


Prep spruce tops the night before planting. Give each spruce top a fresh cut at the branches’ ends, removing the bottom few inches. Fill a bucket with room temperature water and place the spruce tops in to let sit overnight. This gives the spruce top time to absorb water and moisture so that your winter planter stays green all season long. (Make sure you store any greens that are not in water outside or in your unheated garage overnight. Don’t leave greens out of water in a heated room, as they could turn brown.)

The next day, remove all fall plants from the planter to start with a blank canvas. If you are using birch poles (logs) in the center of your pots, plant them 4-6” below the soil, and pack the soil around them so that they do not move.
Once you have the birch in place, add spruce tops. Press them a couple inches down within the soil so that they are sturdy. (You may need to add more soil if they are not standing up straight). Afterward, add other greens and/or decorative twigs. Designing these will take some practice, but you will start to get the hang of it year after year!
Water your winter container when you are finished planting. The water will eventually freeze and lock in your creation, so it stands strong against the Midwestern winter elements. After you water, add twinkling lights to make it pop at night!
Looking for help with your Minnesota Outdoor Container Design? We’ll bring your porch, patio, and entryway planters to life with curated flowers, herbs, and foliage for every season. Send us a message and tell us a little about your container garden visions!

